This is an article from NF Rebel Chef, Noel.
Raise your hand if you’ve ever get inspired to cook (or eat) by a work of fiction.
Maybe you’re revisiting those Redwall books after ten years or more, and you come to a chapter dedicated to a feast. Or maybe you get to book 3 of Harry Potter and it’s not even cold outside, but darn it, you’re pining over a hot mug of Butterbeer. Oh yeah. We’ve all been there.
Recipes on Nerd Fitness are often inspired by travel or favorite foods re-imagined as paleo dishes.
Today’s recipe doesn’t come from a great work of fiction or a chapter in a novel about a feast… it comes from a memory of one line in a ridiculous television show and an old love for a sauce that I just can’t have any more… not because I’m a hard core paleo person, but because I developed a peanut allergy in my 20’s.
This one goes out to all you people who love ridiculous television and also to those of us who cannot eat peanuts. For those of you who don’t give a crap about TV and can eat peanut butter, just consider this a cooking adventure on easy mode.

Now, if you don’t know what Chicken Satay is, it’s a Southeast Asian dish made of marinated pieces of chicken that are skewered, barbecued, and served with a dipping sauce (usually a tasty peanut concoction).
This recipe is about as complex as the Fajitas we made last time. We’re going to cut up some chicken and veggies and then mix a few ingredients together for our tasty sauce. After our chicken marinates, we’ll put our chicken on sticks (if you want), or just toss it in a pan to cook and enjoy!
Sound like something you can manage? Heck yeah it does. Let’s get at it!
Ingredients:
For the chicken:
- 1 lb (.45Kg) chicken or meat of your choice. I usually prefer chicken breast, but thighs work great too.
- Juice from 1 lime (approx. 2 Tbsp or 30mL)
- 1 tbsp (15 mL) olive oil
- 1 tsp (5 mL) curry powder
- 1/4 (1 mL) tsp salt
For the sauce:
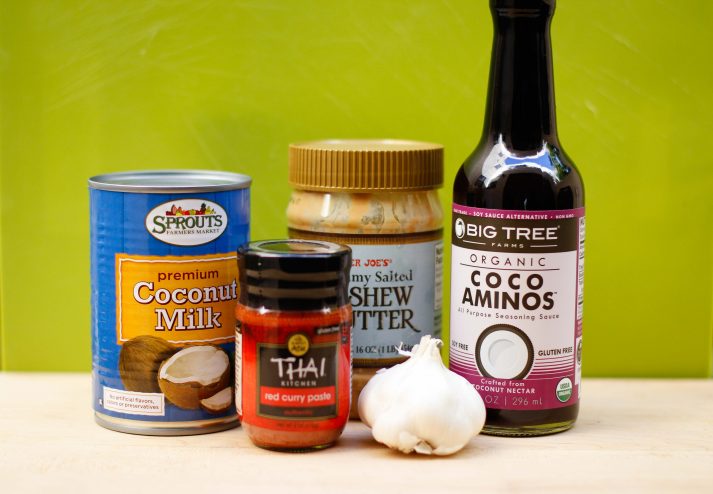
- Juice from 1 lime (approx. 2 Tbsp or 30mL)
- 2 cloves garlic, minced
- 1/2 cup (120 mL) coconut milk from a can or box (none of that pretend milk in the dairy aisle)
- 1/2 cup (120 mL) cashew or almond butter (or, for you traditional non-paleo or non-allergic folks, peanut butter)
- 1/2 Tbsp (15 mL) coconut aminos (paleo) or soy sauce (if not paleo)
- 2 tsp (10mL) red curry paste or Sriracha sauce – For the red curry paste, Thai Kitchen is an easy and fairly cheap brand to find. If you’ve made our Thai Pineapple Coconut Curry recently, you might have some left over! It’s the same stuff. If you prefer Sriracha, Michelle over at Nom Nom Paleo has a great recipe for a paleo version of this favorite spicy sauce! As always, if you’re a fan of spicier dishes, you can add both of these or more of them to your sauce to turn up the heat.
For veggie skewers: use your favorite grilling veggies. Mine are…
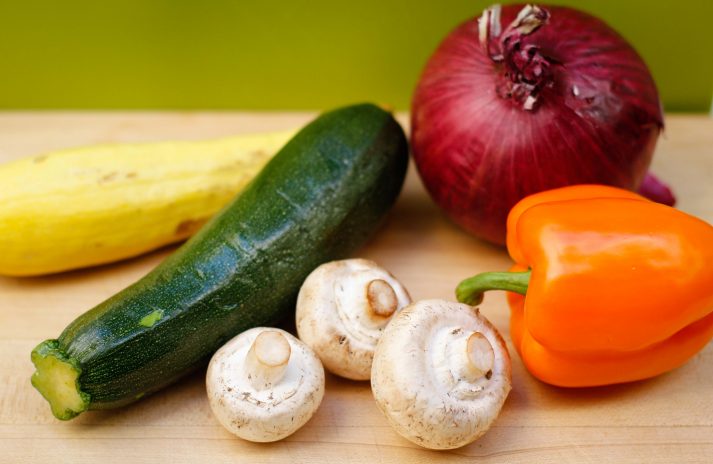
- 1 zucchini sliced into medallions
- 1 yellow squash sliced into medallions
- 1/2 red onion cut into large chunks
- 1 bell pepper cut into 8ths
- 6 whole button mushrooms, halved
- 2 tbsp (30 mL) olive oil
- 1 tsp (5mL) salt
Equipment:
- tongs
- cutting board
- knife
- 2 mixing bowls
- skewers (if you’re skewering your food)
*Note: If you don’t have skewers or a grill, don’t sweat it! You can still make this recipe in the oven or in a pan on the stove top.
- If you’re making it in the oven, follow the cooking directions from step 2 and 3 here.
- If you’re making it on the stove top, follow the cooking directions from here.
Instructions:
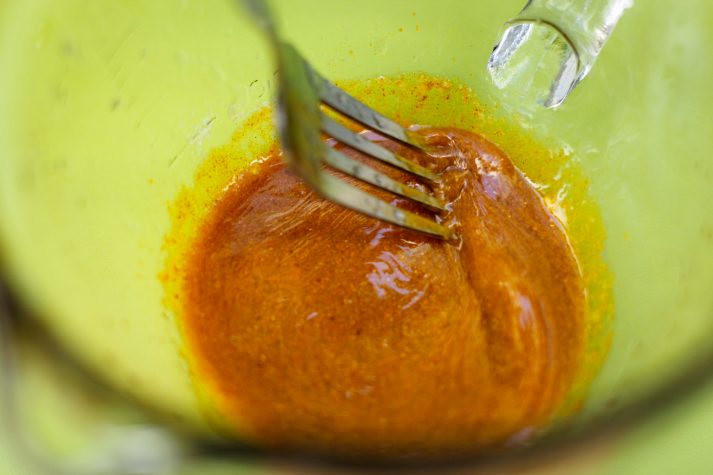
1. Combine lime juice, curry powder, olive oil, and salt in one of your mixing bowls. Mix it up with a fork and set aside.
2. Grab your chicken, knife, and your cutting board. Cut those bits of chicken into one or two bites big in size (about 2in by 2in chunks). You don’t have to be 100% accurate with the measurements here.
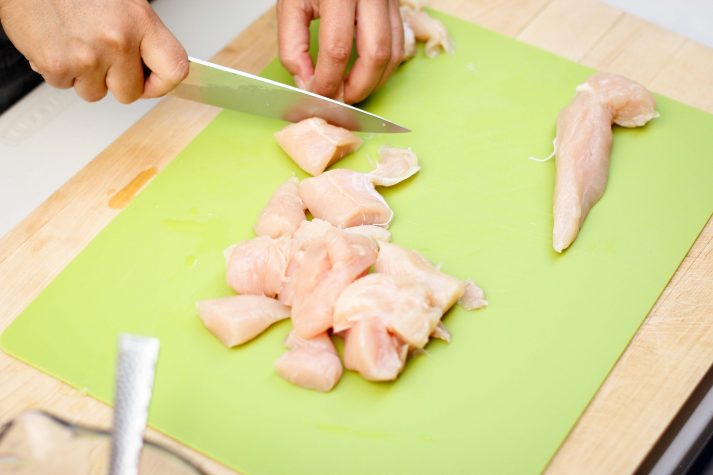
3. Place the cut-up chicken in the sauce you made a little earlier, and mix it up to coat the chicken with the sauce. Don’t be shy!
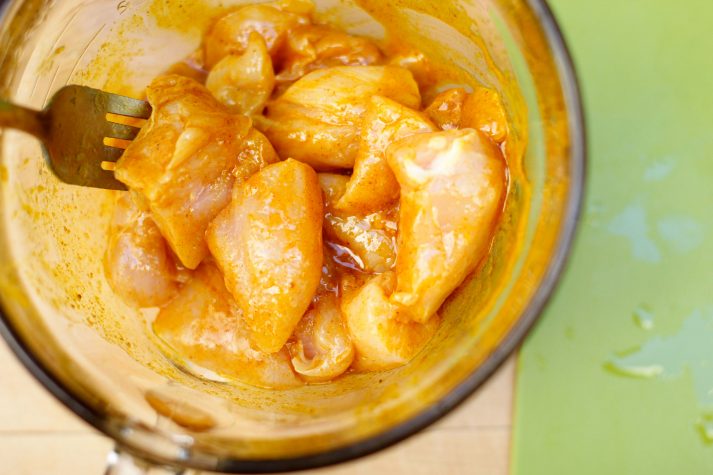
4. Wash the chicken muck off of your hands, and set that bowl in the fridge. Cover it with something to prevent disaster (like a stick of butter falling into it next time you open the fridge).
5. IMPORTANT: Wash your knife and cutting board with hot soapy water or grab new ones.
Also If you’re using wooden or bamboo skewers, now is a great time to soak those in water so they don’t burn. Grab a shallow dish, pan, or whatever will fit your sticks, put some tap water in it, and place your sticks in the water. Move on with your life.

6. Cut your veggies so that they’re easy to put on skewers. Need a reminder of how to cut something? Kapow!. And more skewering tips here.
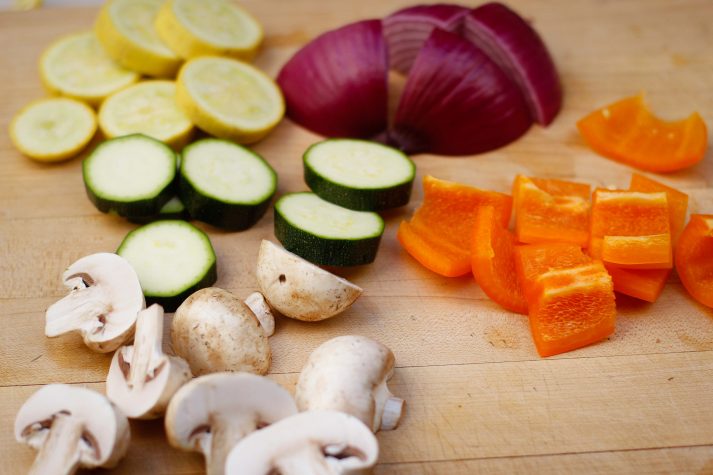
- 1 zucchini and yellow squash slice into medallions
- 1/2 red onion cut into large chunks
- 1 bell pepper cut into 8th’s
7. Toss your veggies into another mixing bowl (or a soup pot if you don’t have another big bowl – it is okay to improvise) with olive oil and salt. Mix them around to coat and set aside.
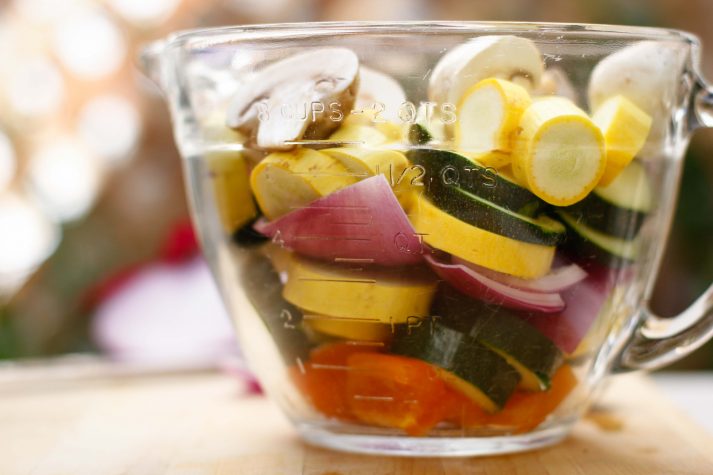
8. Now for the final preparation piece: the sauce! If you haven’t yet, mince your garlic cloves.
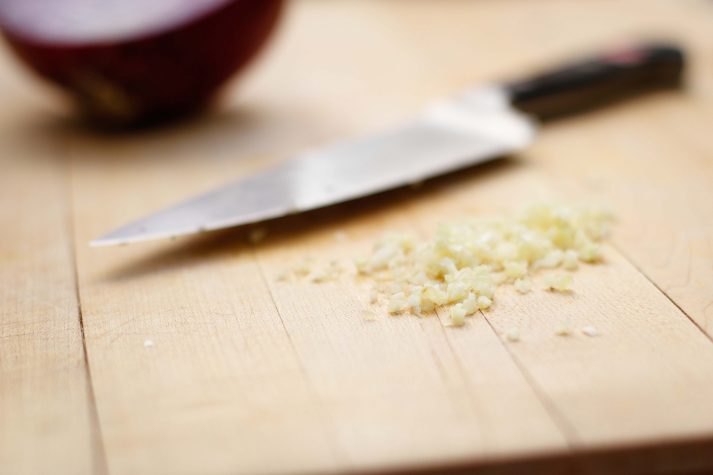
9. Grab yet another bowl (a cereal bowl sized one is fine this time) and mix together your coconut milk, cashew butter, lime, minced garlic, coconut aminos, and curry paste or sriracha.
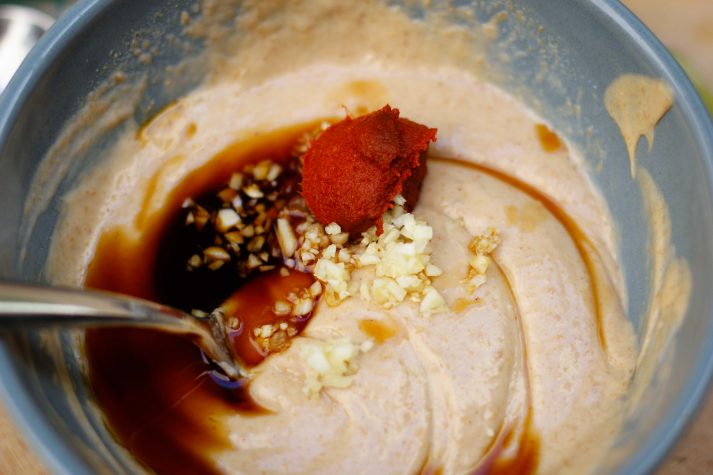
If it all mixes well, great! Mix it up with a fork and set it in the fridge (you should probably cover this one too). If it’s not mixing well (i.e. if your coconut milk is a little cold and therefore won’t incorporate into the sauce), you’ll want to put all your ingredients on the stove and heat them up until they mix together. Then you can transfer it to a bowl and stick it in the fridge.
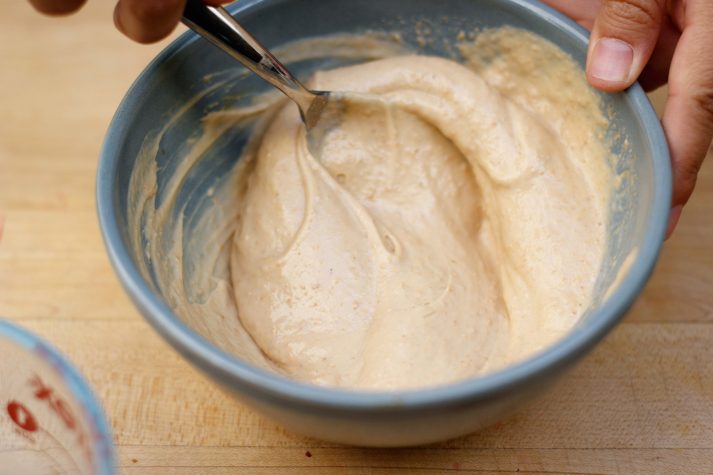
10. Light your grill, or if you’re not in the grillin’ mood, start heating up your pan or pre-heating your oven.
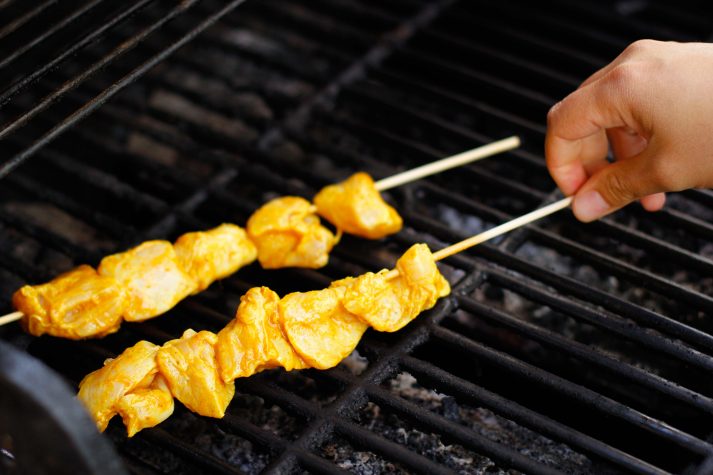
11. Pull your chicken out of the fridge. It’s time to skewer! Skewer all your chicken together on their own sticks and skewer veggies together on separate sticks.
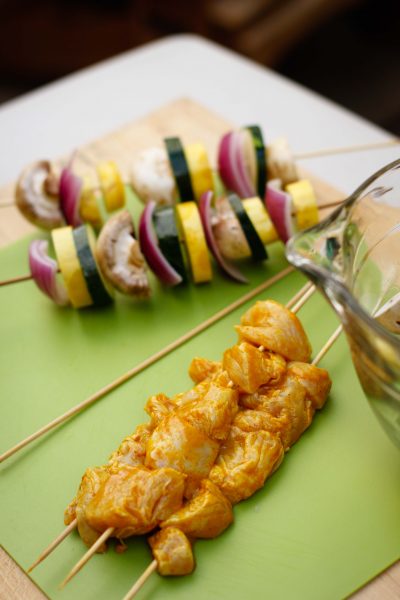
Five to six pieces of chicken together should be good (depending on the length of your skewers). Or you can alternate chicken and veggies on the sticks. Whatever. Take those beautiful suckas out to the grill and place them on the heat.
If you’re cooking in the oven, check out steps 2 and 3 here.
If you’re cooking on a stovetop, do this.
12. Cook your chicken skewers on the grill with the lid closed for approximately 10 minutes. Crack open a beer, a coconut La Croix (oh yeah, I went there), or pour yourself a glass of ice water with lemon. So fresh!
13. After 10 minutes has passed, it’s time to flip your skewers! Flip them, close the grill, and wait for another 10 minutes. To check if the chicken is done, you can test it with a food thermometer or take one of the skewers off the grill and cut open to make sure it’s no longer pink inside. I know, this isn’t a pretty way to do it, but you gotta do what you gotta do to stay foodborne illness free.
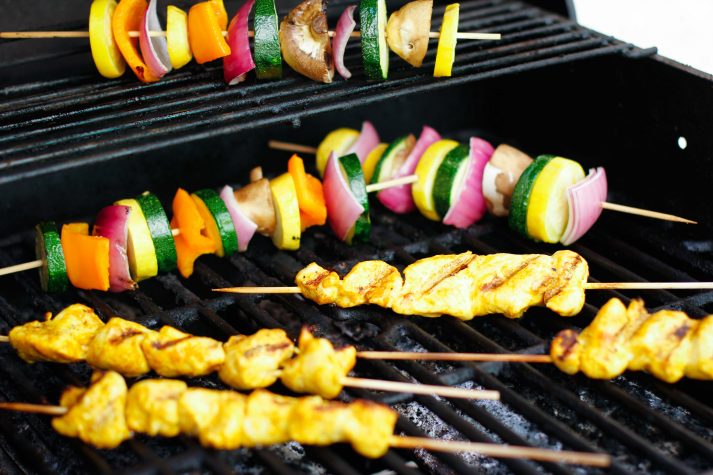
14. When your food is cooked, remove it from the grill. Take your sauce out of the fridge, mix it up, and serve! You can drizzle the sauce on top of the skewers or dip them. Serve along side cauliflower (or regular) rice.
15. Pat yourself on the back because you rock.
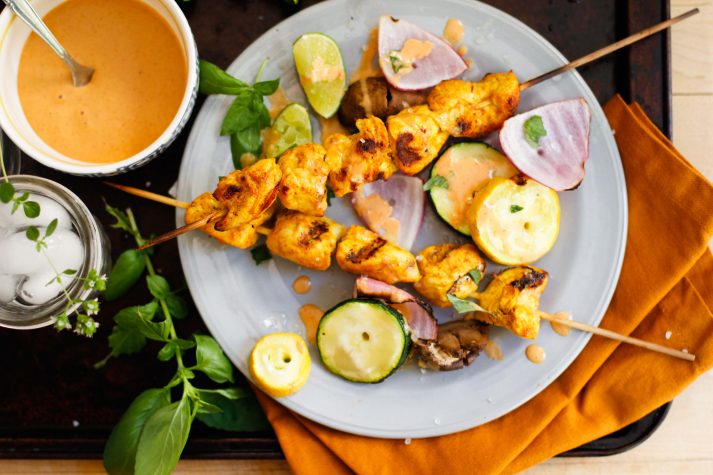
Done like dinner!
There you have it. A fairly simple chicken and veggie dish with a tasty sauce that you can make for one or many people. Almost everyone loves kabobs, and they’re easy to make. Chop up your ingredients, let them soak in a marinade for a few minutes, mix together an easy sauce, cook, and dip.
The sauce will keep in the fridge for approximately 2 weeks. Pour it in a jar and stick it in the fridge when you’re done eating. If you’re one of those people who meal preps or thinks ahead, you can make this sauce ahead of time for the week and put it on just about anything you want.

If you choose to make this sauce with peanut butter instead of almond or cashew butter, I won’t judge you. Peanut butter is WAY less expensive than other nut butters (but, not Paleo).
Any fictional feasts you want to recreate?
Have you ever tried to make a food or drink inspired by a story? How did it turn out?
Let us know in the comments!
-Noel
###
Scott Smith: Late Night Sweet Tooth, DANNY CHIAM: Satay
- 1 lb (.45Kg) chicken or meat of your choice. I usually prefer chicken breast, but thighs work great too.
- Juice from 1 lime (approx. 2 Tbsp or 30mL)
- 1 tbsp (15 mL) olive oil
- 1 tsp (5 mL) curry powder
- 1/4 (1 mL) tsp salt
- Juice from 1 lime (approx. 2 Tbsp or 30mL)
- 2 cloves garlic, minced
- 1/2 cup (120 mL) coconut milk from a can or box (none of that pretend milk in the dairy aisle)
- 1/2 cup (120 mL) cashew or almond butter (or, for you traditional non-paleo or non-allergic folks, peanut butter)
- 1/2 Tbsp (15 mL) coconut aminos (paleo) or soy sauce (if not paleo)
- 2 tsp (10mL) red curry paste or Sriracha sauce – For the red curry paste, Thai Kitchen is an easy and fairly cheap brand to find. If you’ve made our Thai Pineapple Coconut Curry recently, you might have some left over! It’s the same stuff. If you prefer Sriracha, Michelle over at Nom Nom Paleo has a great recipe for a paleo version of this favorite spicy sauce! As always, if you’re a fan of spicier dishes, you can add both of these or more of them to your sauce to turn up the heat.
- 1 zucchini sliced into medallions
- 1 yellow squash sliced into medallions
- 1/2 red onion cut into large chunks
- 1 bell pepper cut into 8ths
- 6 whole button mushrooms, halved
- 2 tbsp (30 mL) olive oil
- 1 tsp (5mL) salt
- Combine lime juice, curry powder, olive oil, and salt in one of your mixing bowls. Mix it up with a fork and set aside.
- Grab your chicken, knife, and your cutting board. Cut those bits of chicken into one or two bites big in size (about 2in by 2in chunks). You don’t have to be 100% accurate with the measurements here.
- Place the cut-up chicken in the sauce you made a little earlier, and mix it up to coat the chicken with the sauce. Don’t be shy!
- Wash the chicken muck off of your hands, and set that bowl in the fridge. Cover it with something to prevent disaster (like a stick of butter falling into it next time you open the fridge).
- IMPORTANT: Wash your knife and cutting board with hot soapy water or grab new ones. Also If you’re using wooden or bamboo skewers, now is a great time to soak those in water so they don’t burn. Grab a shallow dish, pan, or whatever will fit your sticks, put some tap water in it, and place your sticks in the water. Move on with your life.
- Cut your veggies so that they’re easy to put on skewers. Need a reminder of how to cut something? Kapow!. And more skewering tips here.
- Toss your veggies into another mixing bowl (or a soup pot if you don’t have another big bowl – it is okay to improvise) with olive oil and salt. Mix them around to coat and set aside.
- Now for the final preparation piece: the sauce! If you haven’t yet, mince your garlic cloves.
- Grab yet another bowl (a cereal bowl sized one is fine this time) and mix together your coconut milk, cashew butter, lime, minced garlic, coconut aminos, and curry paste or sriracha.
- Light your grill, or if you’re not in the grillin’ mood, start heating up your pan or pre-heating your oven.
- Pull your chicken out of the fridge. It’s time to skewer! Skewer all your chicken together on their own sticks and skewer veggies together on separate sticks.
- Five to six pieces of chicken together should be good (depending on the length of your skewers). Or you can alternate chicken and veggies on the sticks. Whatever. Take those beautiful suckas out to the grill and place them on the heat.
- Cook your chicken skewers on the grill with the lid closed for approximately 10 minutes. Crack open a beer, a coconut La Croix (oh yeah, I went there), or pour yourself a glass of ice water with lemon. So fresh!
- After 10 minutes has passed, it’s time to flip your skewers! Flip them, close the grill, and wait for another 10 minutes. To check if the chicken is done, you can test it with a food thermometer or take one of the skewers off the grill and cut open to make sure it’s no longer pink inside. I know, this isn’t a pretty way to do it, but you gotta do what you gotta do to stay foodborne illness free.
- When your food is cooked, remove it from the grill. Take your sauce out of the fridge, mix it up, and serve! You can drizzle the sauce on top of the skewers or dip them. Serve along side cauliflower (or regular) rice.


