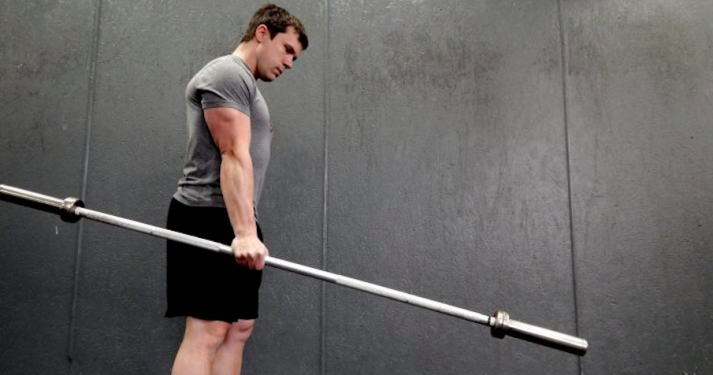
Do you find your grip a limiting factor in the gym (I see you chin-ups and deadlifts)?
Or in everyday life (looking at you, pickle jars)?
If so, don’t worry! We’ve got a handle on this (pun 100% intended).
As the lead trainer of our 1-on-1 Online Coaching Program, I’m going to outline a number of helpful, handy (sigh) stretches and exercises to help eliminate pain and build you some powerful, useful hands and a strong grip.
- The importance of grip strength (and basic “grips”).
- Grip strength exercises to do in the gym (VIDEO).
- How to improve grip strength at the office.
- How to improve grip strength at home.
Now, it goes without saying that the hands and forearms are anatomically complicated areas.
I am also not your mother, or your doctor. If anything in the article below causes pain, or your pain is not alleviated by these stretches – call in the pros!
See a physical therapist or sports massage practitioner.
Why Grip Strength And WRist Mobility Is So Important: Basic Holds.
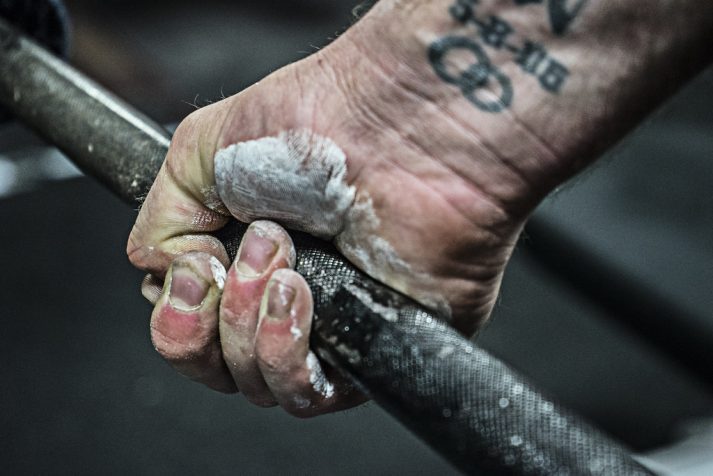
We use our hands for EVERYTHING.
Whether it’s everyday tasks like carrying groceries, opening jars, and lifting suitcases, or gym-related activities like chin-ups, rows, and deadlifts.
Of course, you probably also type at your computer for hours – with resulting aches and pains at the end of the workday.
Guess what?
Stretching out the hands and building up a strong grip can help in all of those areas.
A strong grip has even been correlated to lower mortality rates – and you can also imagine the usefulness of a stronger grip for aging individuals if they happen to slip.
Our point is that it’s always better to have a stronger grip!
This is a favorite area of expertise for me. I’ve worked my grip for years and years, and have even won some grip competitions:
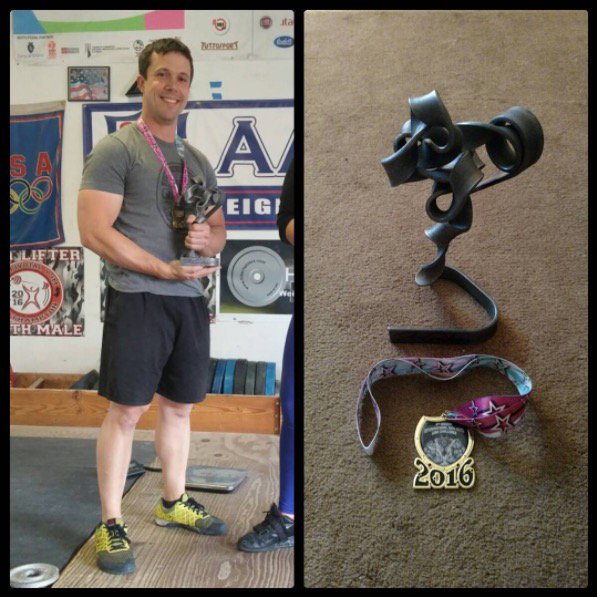
In fact, I’m currently typing this one-handed while squeezing coal into diamonds with my other hand.
Not really, but I promise my grip strength is above average.
SO WHERE TO START?
The hands are complex, and training them can seem just as complicated.
We’ll simplify matters a bit and you can categorize the grip exercises into the following general types:
#1) CRUSH

This is what you probably think of when you think of a “strong grip”. This is the whole hand closing in around something. A strong handshake. None of that dead-fish handshake stuff!
#2) PINCH
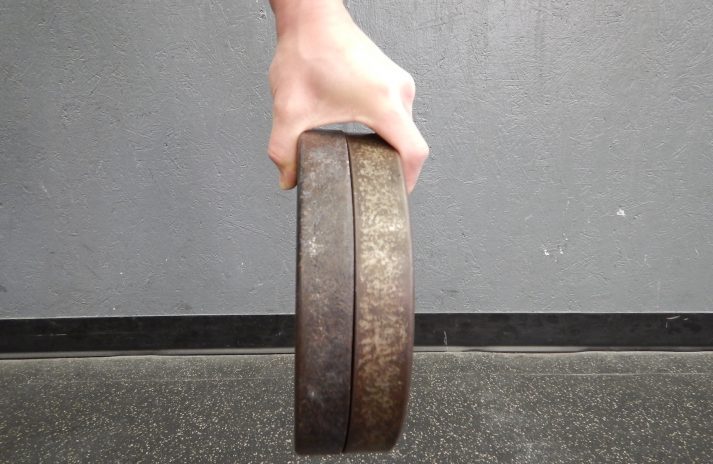

Think of making an alligator mouth with your hands, and chomping down. In this grip, there tends to be a lot more work/stress on the thumb. This is important to work, as the thumb is a vital part of a strong grip!
#3) SUPPORT
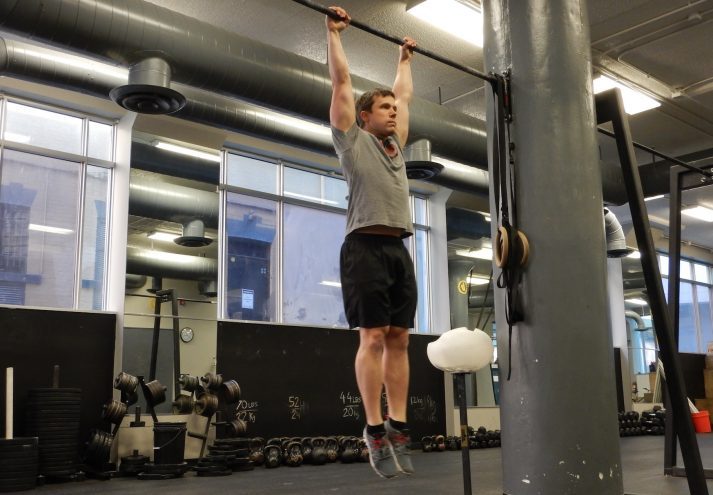

This is similar to crush, but rather than the ability to close, this type of grip tests the ability to hold.
#4) EXTENSION
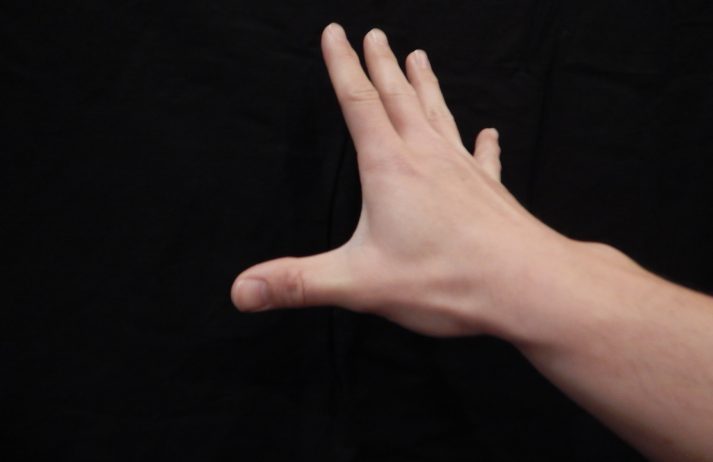

Every action has an opposite reaction, right? This type of grip work is all about strengthening the opposing muscles. We were built to grab and hold onto things, so these muscles will not be as strong.
#5) WRISTWORK


Taken from torokhtiy.
Wrist movement and wrist stability are the focus here. In order to be able to transfer energy from the body through the hands (for opening those pickle jars) we need to make sure every link in the chain is strong.
PUTTING IT ALL TOGETHER
When putting together a grip routine of your own, it’s a good idea to cycle through these different types of grips over the course of the week, in order to work different muscles and different angles.
If you have to pick just a few, I’d put my money on stretches, crushing, and extension to get your hands strong and keep them healthy!
Before we go further, I want to mention that if you’re improving your grip as part of a strength training practice, you’ve come to the right place!
We have a free guide Strength Training 101: Everything You Need to Know, that will walk you through every aspect of building muscle and growing stronger.
Want in?
Grab it for free when you join the Rebellion (that’s us!) below:
How to Improve Your Grip Strength and Mobility Quickly.
Here are the best exercises you can do to strengthen your grip quickly:
- Dumbbell head grab: Put a dumbbell on its end and pick it up by the head. Could anything replicate a pickle jar more? Be careful with this exercise if the dumbbell is too big, as the thumb can easily be strained if it’s stretched too far. Hold for time (~30 seconds) or go for heavier weight.
- Farmer’s walks: Grab a pair of heavy dumbbells (heavy for you) and walk around! Don’t have space to walk? Just stand there! 30 seconds minimum!
- Plate curls: A wrist strengthener that works the biceps too! Anything past 25 lbs becomes insanely hard. ~10 repetitions. Watch the face!!
- Plate pinches: If you’ve got a pair of smooth metal plates, you can sandwich them together with the smooth side out. You can also use thick bumper plates. Pick them up with one or two hands and hold for time (~30 seconds) or go for heavier weight. World class grip athletes can pick up a pair of 45 lb plates with one hand!
- Barbell finger rolls: How to work the crushing grip without grippers. You can use an empty bar or load up some weight. Get the bar to your fingertips, then squeeze and crush! ~10 repetitions.
- Towel chin-ups: Regular chin-ups too easy? Throw a pair of gym towels over the bar and challenge that grip. A great exercise to prepare for rope climbing!
Next, let’s talk about some stretches and exercises to perform at the gym.
#1) STRETCHES AT THE GYM
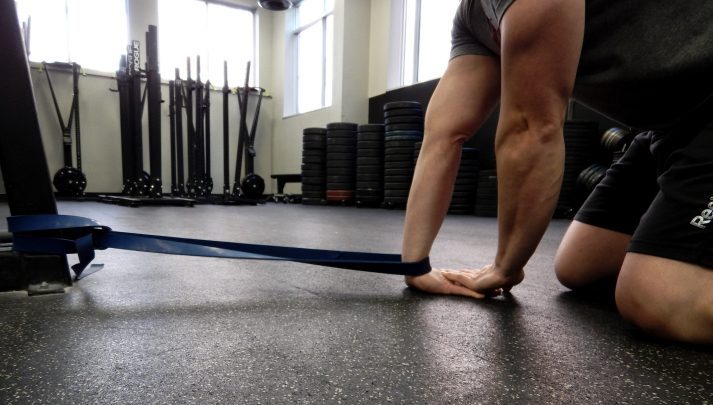
The only addition I have to your stretching routine that can be done at the gym is banded wrist stretches. The addition of the band can help open up your wrist joint a bit more. The band should be pulling in the opposite direction of the stretch (fingers face one way, band pulls the other way).
10-15 repetitions.

#2) EXERCISES AT THE GYM
While we recommend picking up some grippers as specialized grip equipment, there are TONS of options to work the grip at the gym with existing equipment! This is certainly not an exhaustive list, but should give you plenty of ideas.
The one warning I give for any of these exercises is WATCH YOUR TOES. The grip can give out fast and unexpectedly, so we don’t want to crush any little piggies!
This list is certainly not exhaustive, but it’ll get you started!
Other Easy-Grip Exercises to Integrate:
- Bar hang: Simply hanging from the bar or gymnastic rings will build up your grip strength! If you can’t hang freely, put your feet on the ground for an assist. Couldn’t be simpler! Work up to one minute or more!
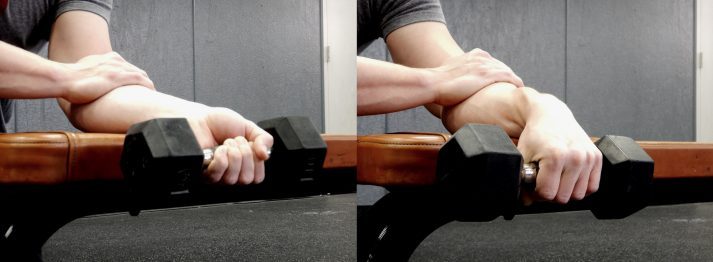
- Wrist curls/Reverse wrist curls: What many may think of when they think of “grip strength” exercises. Not bad for some wrist strength. ~10 repetitions. Pictured – Left: Wrist curls, Right: Reverse wrist curls.

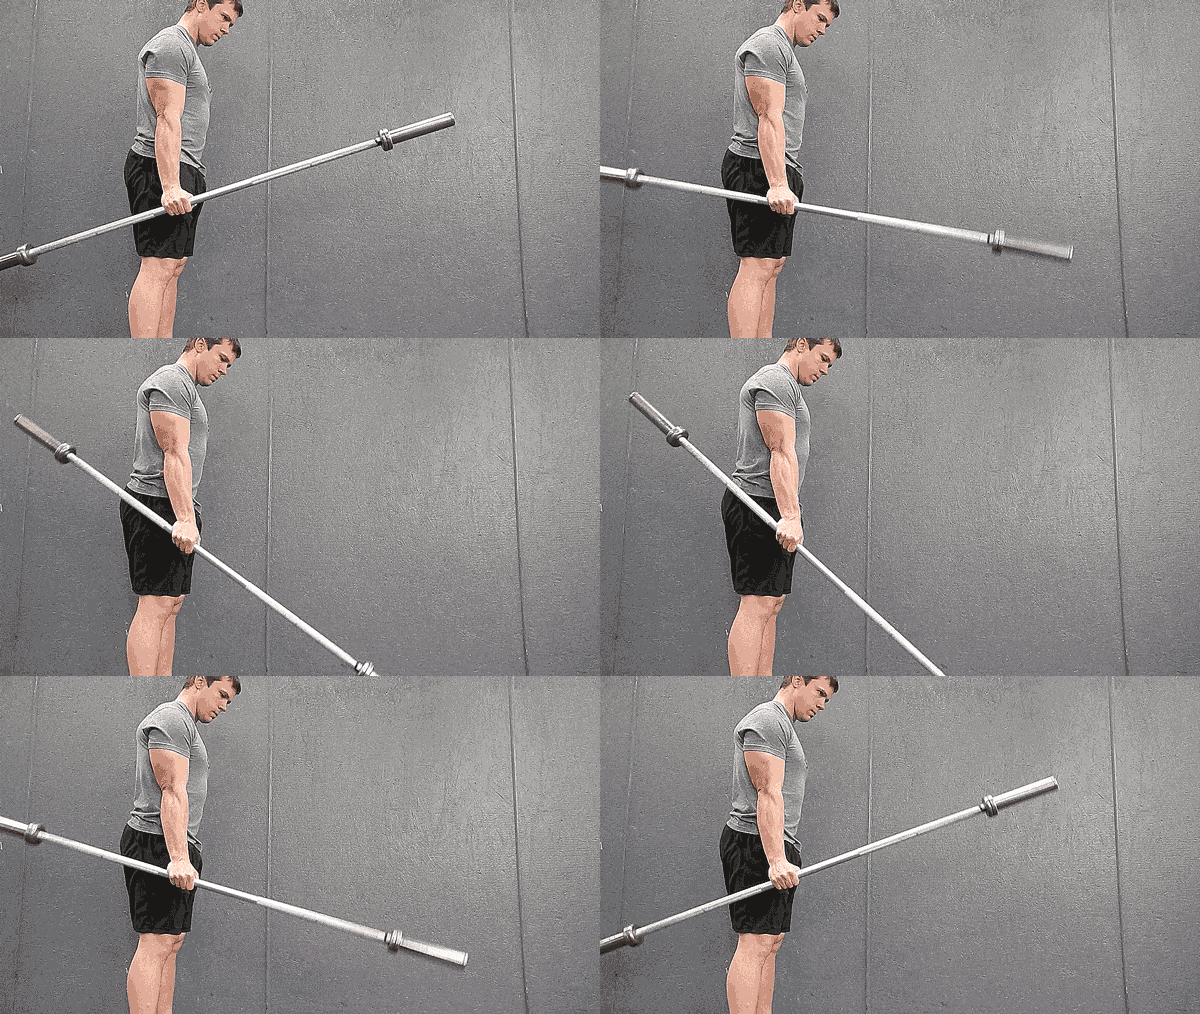
- Barbell levering: We’re getting into crazy town with this one. An unbelievable wrist exercise that is not for the beginner. Grab the bar with one hand, off-center, and lift it to parallel. You can lift to the front and the back. I would also recommend using a 15 lb/5 kg bar, or one of those lighter “bodypump” bars for this. The leverage is crazy! This can also be done at a faster pace with PVC pipe.

Things can get really crazy when you start combining exercises…Plate pinch farmer’s walks with bumper plates, anyone?
…and speaking of NF Coaching, if you’re worried that your grip strength is holding back your training, we can help!
Our certified coaches can do an assessment, design a program to increase your grip and overall strength, and provide support and accountability. It’s kind of like having a coach in your pocket (not literally – via an app).
Plus, our coaching app lets you record and send a video of your movement directly to your coach, so you can take comfort knowing you’re training correctly:
How To Improve Grip Strength and Mobility At The Office.
Alright, you’re ready to jump into grip strength training!
I’ve outlined a number of stretches and exercises for you to do, no matter where you are and what equipment you have. Skim over and see what you can add to your daily mix or gym training!
#1) STRETCHES AT YOUR DESK
You might be reading this while sitting at your computer right now.
We put a LOT of stress on our hands and wrists over the course of a day, so take the time to take care of these hard workers!
Below is a quick and dirty stretch routine, just three moves. This is good for a warm-up or just for overall hand health. We spend a lot of the day at our computer with our elbows bent and our hands in a pronated position (palms turned down), therefore stretches with our elbows extended and hands supinated (palms turned up) is a good idea.
The stretches from the video:
- Fingers back, palms on desk: You can stretch straight backwards, or rock gently left to right. 10-15 repetitions.
- Finger back, palms lifted off desk: You can lift the palms and get a bit more stretch through the fingers and first knuckle. Again, stretch straight backwards, or rock gently left to right. 10-15 repetitions.
- Fists together, back of hands on desk: Make two fists, with the thumbs on the outside of your fingers. Bend your elbows and put the knuckles together like two cogs in a machine. Bend your elbows and put the back of your hands fully on the desk. Keep your fists together (this will be tough) and fists tightly closed (this will also be tough) as you bend and flex your elbows. 10-15 repetitions.
Give it a shot, I bet your hands feel noticeably different (and better) afterward.
If you have additional time, the first two stretches can also be done with your fingers forward!
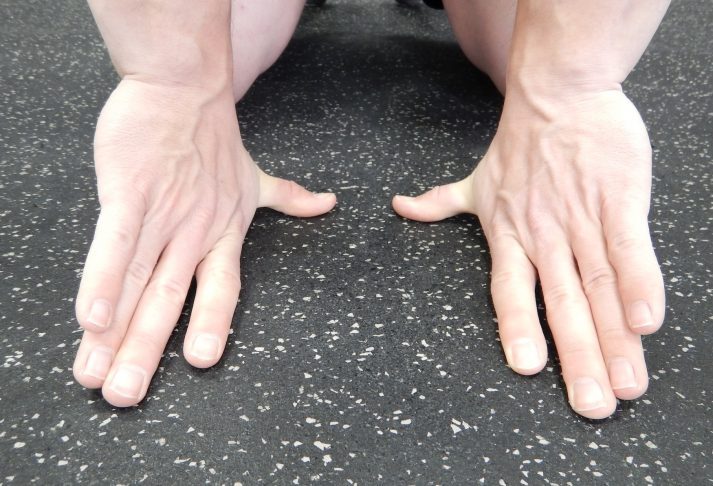
You can also stretch the thumbs out on the desk. Moving into and out of the stretch shown below. You may be surprised how good this feels if you’ve never done it before. Again, 10-15 repetitions.

A final stretch, if you have the time between updating Excel and checking Facebook for the 100th time (I kid, I kid), is stretching your wrists in the direction of your thumb.
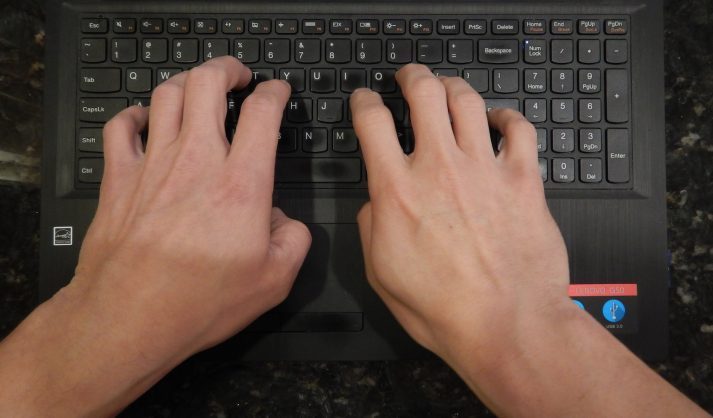
If you think about how your hands are often oriented on your keyboard, you’ll see that they are often bent toward your pinky.

So let’s stretch them in the opposite way! Make like you’re about to karate chop someone with one hand. With the other hand, grab the chopping hand and pull it sideways in the direction of your thumb.
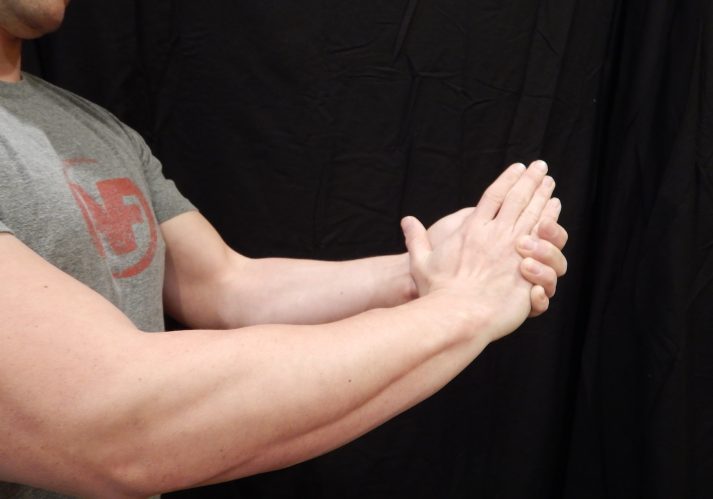

Going gently into and out of this stretch for 10-15 repetitions. It may not feel as intense as the previous stretches, but it will still help.
This is certainly not an exhaustive list of hand and wrist stretches, but it should give you plenty to work with!
#2) EXERCISES AT YOUR DESK
Do you know there’s already an excellent piece of grip-strengthening equipment present in many offices? What is that?
The rubber band!
Snag one off that rubber band ball in your desk and do these simple rubber band extensions:
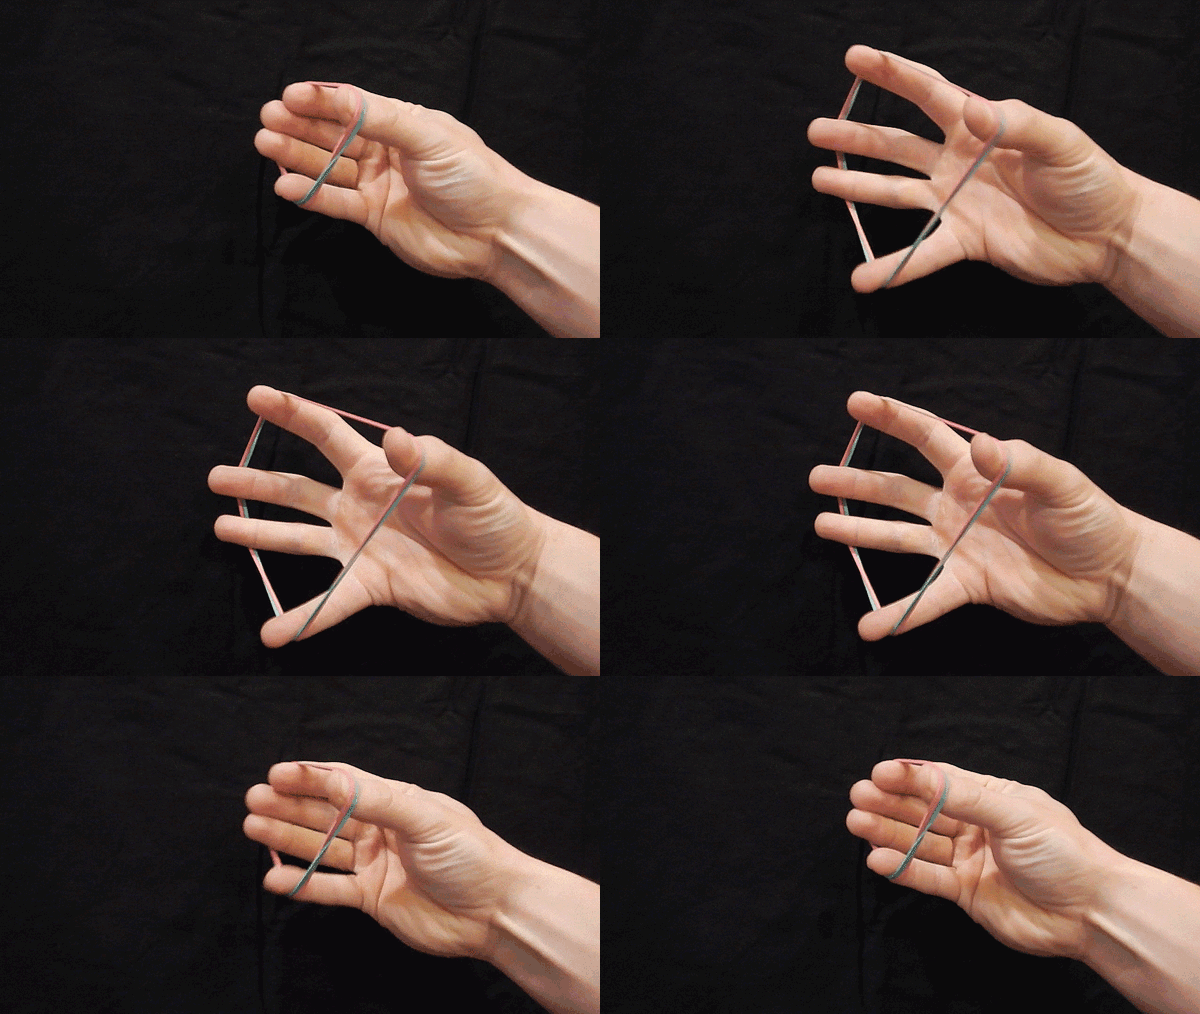

If one band gets too easy, put two or more on! This is a super easy exercise to do while you’re on a phone call or that conference call (that you’re not paying attention to anyway) that gets the blood moving through the hands and helps balance out your vice-grip-like hands.
Another grip exercise that can easily be done at your desk is closing grippers. Now, this does require an investment (~$20/gripper), but you’ll find that these grippers last FOREVER (I still use some grippers that are over a decade and a half old!)


I would personally recommend Ironmind’s “Captains of Crush” grippers.
They are built to last and be strong.
Consider the following when making your gripper purchase:
- If you are just starting out with your grip, I would look at the Guide and/or the Sport (60lb and 80lb respectively).
- If you have a bit of strength, the Sport and/or the Trainer is the way to go (80lb and 100lb).
If you can close the Guide, you’ve got a pretty solid grip. If you can close the Sport, you have way above-average grip strength, in my experience.
A fun bonus with these grippers at your desk is that EVERYONE who sees them will try and pick them up and close them. Great way to start a conversation with your coworkers!
You may be thinking, “Eh, I’ve already got a gripper I bought from the store”. I’ll tell you that the strength in that gripper is probably minuscule compared to Ironmind’s. Time to upgrade!
You may also be thinking, “Eh, I’ve got a tennis ball/stress ball that I can keep by my desk and crush”. Both of those might be better than nothing, but not by much. The grippers will allow smoother movement and quantifiable progress. Did I mention they’re just $20 a pop?
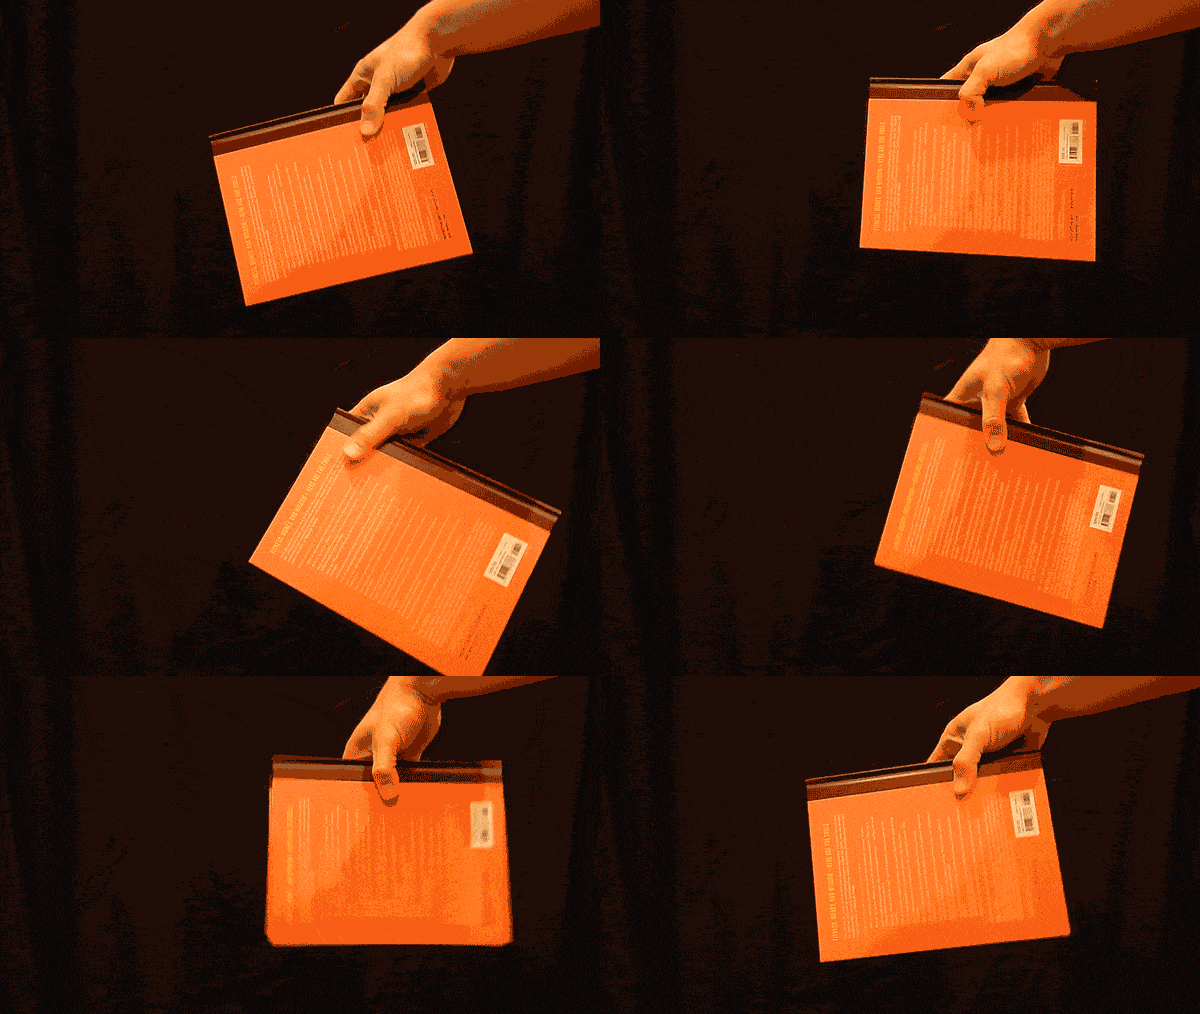
“Jim, I can’t wait. I want to work my grip NOW.” Ok, ok, grab the biggest, heaviest book in the office you have. Grab it in that pinch grip position (fingers on one side, thumb on the other). This may be easy, if so, then “walk the book” in your hand by moving your fingers up and down the spine while you hold it in mid-air. Do this for several trips. Tough!

How to Improve Your Grip Strength and Wrist Mobility At Home.
If you work out at home, there are still a few things you can do.
- Bar hang: A home chin-up bar is one of the most useful pieces of equipment to have. Just like the gym version, you can put your feet on the ground to assist. Work up to one minute!
- Grocery bag farmer’s walks: What’s better than taking only one trip to bring your groceries inside? Absolutely nothing. You can use those tough, reusable bags and load them up with anything. Stand in place or walk around the neighborhood.


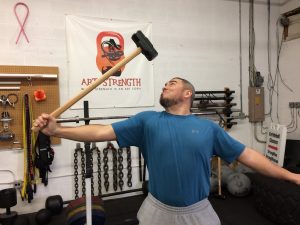
- Sledgehammer/Barbell/heavy bar levering: As with the barbell levering at the gym, this is a tough exercise and should be approached slowly. Grab closer to the sledgehammer head to make it easy, farther to make it tough.

Get Started With Rings And Handstands, Level Up Your Grip!
No (wo)man is an island, and no exercise exists in complete isolation. These grip exercises are a blast, but we hope you can also use them to help strengthen a deadlift, or work toward your first chin-up.
There are also various bodyweight exercises that will help strengthen your upper body AND build your grip strength at the same time.
#1) THE FALSE GRIP HANG
For example, here is a video from our rings course in Nerd Fitness Prime on doing a false-grip hang – and then doing scapular retractions. This is a killer grip strength exercise:
The false grip is an incredibly challenging grip variation that one must learn to build up to a muscle-up (a pull-up that transitions into a dip). Just like before, you can put your feet on the ground to assist this exercise.
#2) CROW POSE
Here’s a video of an exercise that builds up grip and wrist strength, pulled from Nerd Fitness Prime (which contains a course on doing handstands):
A staple of yoga classes everywhere, though we’ll be focusing on it for a different reason than a yogi might. We’re using this exercise as a foundational exercise to build up into the handstand. You won’t believe how much grip strength is involved in the crow pose until you are digging your fingers into the ground!
A Strong Grip Is Always Helpful!
It’s been said, “There’s never been a strong man (or woman) with weak hands.”
We’d have to agree wholeheartedly. There is never going to be a point in life where you say “Boy, my grip was too strong!”.
You might have some questions about how to mix these exercises in with your normal routine, or how you can use these things to improve your lifts safely and without injury. Or maybe all of the above just overwhelmed the heck out of you and you’re trying to make sense of it all.
If that sounds like you, you’re in the right place.
I’m the lead trainer of the 1-on-1 NF Coaching Program, where we help busy, normal people like yourself build muscle, lose weight, and level up their lives!.
You can learn more about our coaching program by clicking on the image below and scheduling a call with us to see if we’re a good fit!
You have a pair of incredibly useful tools at arm’s length, might as well make the most of them!
We hope you now have a handle on things (have to bring it back full circle). Go out and get a grip!
Leave any questions you have on grip strength or wrist mobility below in the comments.
-Jim
PS: What should you do after you improve your grip and wrist strength? Get started on doing muscle-ups and downward dogs, which you can learn all from our new app!
Try it for free right here:
###
Photo Source: Reece & Emma Meins Chalky bar grip

