Note: This is part two in a series of strength training from NF Team Member Staci. Check out part one, which goes over the reasons why you should start strength training.
I have a confession to make.
When I first decided I was going to start lifting, I was scared to death of the weight section of the gym. For weeks before I even walked near it, I did what any rebel would do: I started researching like crazy. I talked to my fellow rebels on the Nerd Fitness message boards, I found tons of lifting videos on how to squat properly, watched them meticulously, and took notes like crazy.
I even bought a PVC pipe so I could practice at home in the mirror, so I wouldn’t look like an idiot at the gym.
The next day, I get to the gym, look around, and see the squat rack. It was empty. Sweet! I walked over, noted that the rack looked a little different than the ones in the videos, but everything else looked right: the barbell, weights, safeties, check. So I went with it. I quickly figured out how to adjust it to the right height, put some weight on the bar, did a few sets, and then went home.
Yes! Everyone was right, this IS easy! I am the master of the squats!
Later that night, while going to post in my thread to say “I did ALL the squats today,” I wanted to show everyone the squat rack I was using, since it was a little different. A quick google search showed me that I had used a “free motion smith machine,” not a squat rack.
Not only was I NOT the master of the squats, but I didn’t even find the squat rack properly, and broke one of the cardinal rules of the Rebellion: NEVER use a smith machine (unless it’s for inverted rows).
Crap.
Today we’re going to go over the very basics of the gym and the most common equipment you’ll encounter, so that you don’t feel completely lost like I did.
Note: This article is going over all of the main equipment you’ll find in a gym. You don’t need all of this stuff to start strength training (in fact, you don’t really need anything). For all items mentioned, click through the links for a photo of what it looks like.
Walking into a gym for the first time
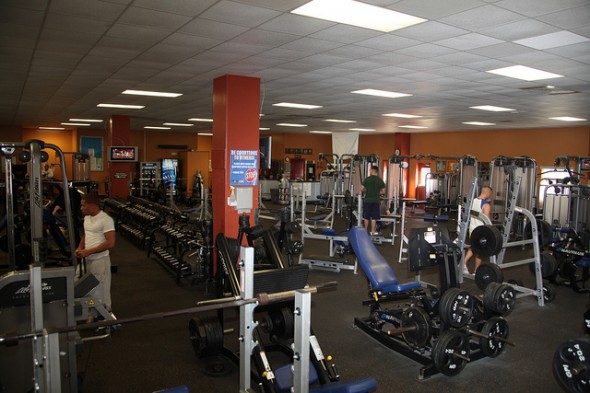
The first time you walk into a gym it’s easy to get overwhelmed. There are so many different things going on and everyone seems to know what they’re doing.
Most gyms are laid out in the following way:
- Cardio area (has treadmills, ellipticals, stationary bikes, etc)
- Weights area
- Group Fitness Room
- Locker Rooms
Some gyms also have things like racquetball courts, pools, or special rooms for things like “express line” machine training, but these vary from gym to gym.
When you first go to a gym, it’s considered completely normal to ask for a tour – you won’t look like a total newbie just because you don’t know where everything is your first time in. I’d highly recommend this – while it’s fun to just wander, you might miss something awesome or important that the staff would have shown you.
Identifying the equipment: Free Weights
Now that you’re walking around, you’ll notice a TON of different equipment. From my experience, the staff will be most interested in showing you the weight machines and cardio equipment. This is, of course, what we are least interested in, so be up front that you’re interested in the free weights.
Barbells can range anywhere from 4’ (1.2 m) to 8 feet (2.4 m) long, and can vary in diameter from .98”-2” (25 mm-51 mm).
Olympic bar – This is the standard training barbell (Olympic men’s barbell). This bar is 7.2 ft (2.2m) long and will weigh ~ 45 lbs (20 kg). The Olympic bar has bearings that make it spin nicely to help assist the Olympic lifts (the snatch and the clean and jerk).
Some gyms have a “women’s bar” which is 33lbs (15 kg) and is only 6.9 ft (2.1 m) long. There are also smaller “training bars” that can weigh anywhere from 10-30lbs.
You will sometimes hear people refer to bars as “beater bars” as well – this just means it’s a cheaper bar that you can use for anything when you’re first starting out.
Fixed weight bars – These are shorter bars (3′-4′) with the weights already attached. They’re usually located all together near the dumbbells and are used primarily for assistance exercises.
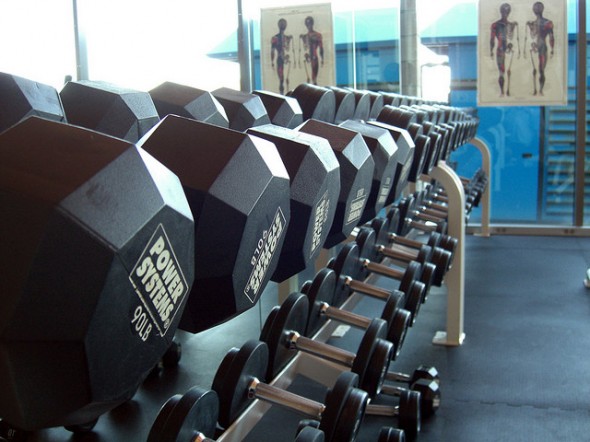
Dumbbells – Most gyms will have dumbbells, even if they don’t have barbells. While there are a few different styles, for most purposes, a dumbbell is a dumbbell. I’ve seen dumbbells anywhere from 1 lb to 200 lbs.
EZ-Curl bars are the most common “specialty bar,” which are shorter and in a bent “w” shape. Sadly, I’ve seen gyms that do not have your normal training barbell have EZ-Curl bars. Unfortunately, the only thing these bars are really good for is curls and other accessory movements.
“Trap Bar” – Also known as a “hex bar” – This bar is hexagonal, allowing the user to stand in the middle and pick up the bar using a neutral grip. It is primarily used for deadlifts and shrugs, but definitely not necessary (an Olympic bar is standard).
Safety Squat Bar, Cambered Bars, Apollon’s Axle, Strongman Logs (and a ton of other types) – While these are not necessary by any means, they can be a great tool once you’re further along your strength training journey. If a gym has specialty bars, it’s likely they are more of a weightlifting or powerlifting gym (and probably where you want to be).
Racks and Machines
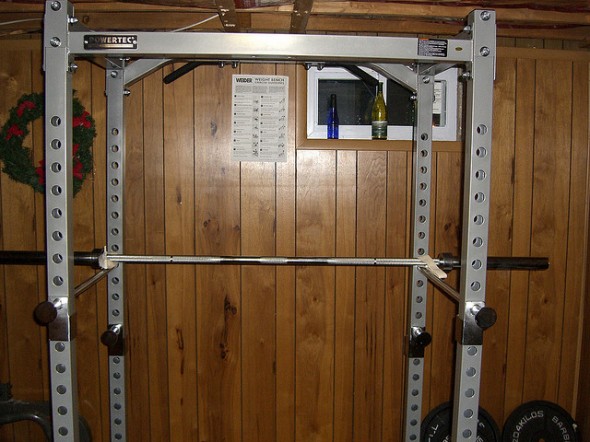
There are a ton of different types of racks, and every gym (or basement/garage) has a different one! Let’s go over the basic equipment you’ll be using to squat and do your major “push” and “pull” exercises.
Squat Stands – These are two pieces that stand next to each other to hold up your barbell. These are great for portable workouts, but for inside a gym, they have a lot of disadvantages (they don’t hold as much weight, aren’t as sturdy, and lack safety features).
Squat Racks – Squat racks come in many shapes and sizes, but most typically they are two vertical uprights connected with a horizontal pole. Some have safeties built in and some do not. The ones that don’t aren’t much better than the individual squat stands, though they are a little more stable. If you have a choice, a squat rack with adjustable safeties is your best bet.
Power Rack – One step above the squat rack is the power rack. These look like big metal rectangles with holes every 2 inches or so up and down each vertical side. Power racks have safety pins across each side and J-hooks to hold the barbell. One of the great things about your gym having a power rack is that it’s versatile – you can use it to bench press, overhead press, squat, and more.
Smith Machine – The smith machine is a type of plate loaded machine that looks a lot like a squat rack, only there are rods that guide the path of the bar. NOTE: While staff at the gym may tell you that they are safer to use, we never recommend using them, as it forces your body into fixed, unnatural positions (not to mention it has been proven that you get better gains out of using free weights).
“So how do I tell the difference between a smith machine and a squat rack?” Is the bar attached to something without being able to be removed off the machine? It’s a smith machine. That simple 🙂
Weight Machines – There are two main types of these, plate loaded and pin loaded. The pin loaded (or ‘stack machines’) have stacks of rectangular weights with a hole in them for the pin. The lower down you insert the pin, the more weights are lifted. The advantage of these is that you do not need to load weights on and off between sets. With plate loaded machines there are no weights attached to the machine – you must put the weight plates on the machine yourself. Many plate loaded machines offer a higher range of motion than stack loaded machines.
Cable Machines – These machines come in many different shapes and sizes, but are almost always stack loaded. Cable machines will have a handle attached to the end of a cable, which is then pushed or pulled in various directions depending on the specific exercise. These can be great for assistance exercises to your barbell or dumbbell lifts, as unlike other weight machines, they still allow free range of movement.
Pull-up Bar – You would be surprised how many gyms do not have a good pullup bar. There are a few places to look if you don’t see a freestanding pullup bar right away: the top of the cable machine, power rack, or smith machine. Some offer multiple grip options without offering a straight bar. The two main grip options that are the most useful are a straight bar and a neutral grip (where your palms are facing each other).
Dip Station – Sometimes dip stations are freestanding, while others are attached to the cable machine or power rack. Adjustable handles are nice for those of us who are smaller and a wider dip station puts our bodies in a bad position.
Assisted Pullup/Dip Station – This is a stack loaded machine: you select a weight, then stand on a platform that offers a specific amount of help on your pullup or dip. These can be useful if you can’t do a pullup or dip yet, though we recommend the use of bands instead.
Bench – There are a few types of benches, standard flat benches and adjustable ones. The adjustable benches allow you to exercise at an incline or decline. These are one of the most commonly used pieces of equipment in the weight room, so it’s always good if there are at least 3 or 4.
Bench Press – Some gyms (especially smaller gyms and CrossFits) just use squat stands or squat racks for the bench press. Most commercial gyms have benches that are specially made for the bench press (with a stand attached). While these are a personal preference, check to see if the rack is adjustable, especially if you are shorter.
Other pieces of equipment
In addition to all of the big pieces of equipment, there are a ton of little things hanging around in every corner of the gym. Here are a few of the major things to look out for:
Collars/Clips – Clips and collars vary greatly, but the purpose is simply to hold the weight securely on the bar. Most gyms have a rule that you must have collars on the bar before you lift it (unless the bar is empty). Some of these weigh a few ounces, while others weigh up to 5 kg a pair.
Weight Plates – The most common are types of plates are:
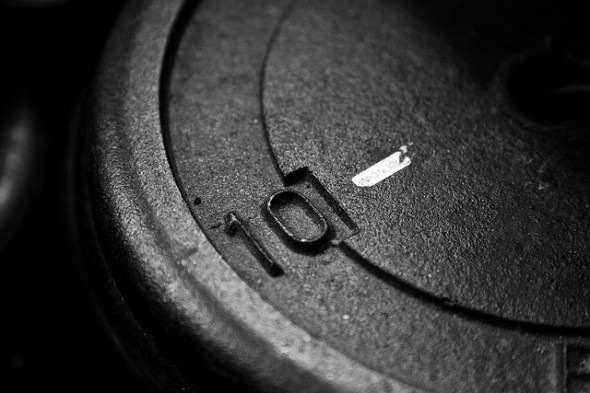
Standard metal plates/rubber encased weight plates -These are the most common in commercial gyms. These should not be dropped. They come in circle and 12-sided versions. Typically, each weight denomination of these is a different diameter, with the 45lb or 20kg plate being the largest (typically around 17.75in).
Bumper Plates are made out of rubber and can be safely dropped from overhead. These all have the same diameter (most tyically 450mm, or 17.75in) regardless of weight, so the more the plate weighs, the wider the plate will be.
Within the United States, most gym plates are in pounds, and come in 2.5, 5, 10, 25, and 45 lb denominations. Outside the United States or at most weightlifting specialty gyms, the plates will be in kilograms. They are typically found in 1, 1.5, 2, 2.5, 5, 10, 15, 20, and 25kg denominations.
There are also less common combination plates that can be dropped from very short distances, but not from overhead.
Kettlebells – These are weights that resemble a cannonball with a handle. Kettlebells are an amazing tool for helping you to get stronger (some people train exclusively with kettlebells with great results). Most commercial gyms stay pretty light with these, you may be able to find a gym with some 53 lb and 70 lb (and maybe higher) kettlebells. If you ever plan on doing any sort of kettlebell work, you’ll grow out of the 8lb ones that most gyms have pretty quick.
GHR/GHD Machine – This is called the “glute ham raise,” or the “glute ham developer”. You can use this for Glute Ham Raises, Back Extensions, or sit ups.
Reverse Hyper – This looks like a table with a pendulum hanging from it. It’s not common, but aside from your basic barbell and squat rack, I think it’s one of the best pieces of equipment in a gym.
Prowler/Dragging Sled – These are great conditioning tools. Loading a prowler up with weight and pushing or pulling it will get me more out of breath than running ever could, plus it builds insane amount of strength at the same time.
Strongmen Equipment – such as atlas stones, tires, hammers, yokes, and kegs can be a great addition to your training.
Plyo Boxes – These are boxes that come in multiple sizes that you can jump on and off of. You can also use them for weighted step-ups.
Bands – Bands are basically just gigantic rubber bands, used for mobility work, speed lifts, and for assistance with exercises such as pullups. These are a great tool to have around.
Chalk – Many gyms do not allow chalk, but it’s a huge help when it comes to grip, especially when it gets warm and sweaty in the gym.
Gear
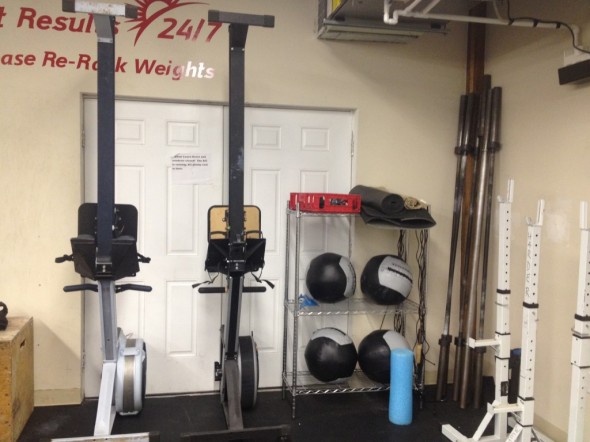
The number one question I get asked when someone wants to start lifting is: “What do I wear?” When you look around the gym, you’ll notice that everyone has their own set of gear and their own set of reasons why they need what they wear. The truth of the matter is: unless you’re injured, when you’re first starting out, you don’t need 90% of the gear you see in the gym (and you really don’t NEED it later on either).
Clothing – Ignore fashion; wear what’s comfortable. High socks are common on deadliftt day to prevent scraping on your shins, but other than that, it really doesn’t matter. You could do squats in your birthday suit if you want (though I take no responsibility when you get arrested or kicked out of your gym).
Shoes – The number one piece of “gear” I’ll recommend you get is a good pair of shoes to lift in. Now, good lifting shoes do not need to be expensive! The most important quality of a good lifting shoe is being able to drive through your heels – so a flat sole or solid sole is what you’re looking for. Your classic running shoe will not fit the bill here – it’s extremely hard to press through your heels when you’re standing on something as cushy and soft as a running sneaker. (Note: If you can’t get a better shoe, I would rather you squat in running sneakers than not squat at all.) Your classic Converse Chuck Taylor All Star will work very well here, are affordable, and is what many top powerlifters still wear.
Gloves – Some people like to use gloves to protect their hands from developing callouses while lifting. However, you still get callouses and your hands can rip from under the gloves. Since they can also mess up your grip and technique, I do not recommend wearing them.
Knee/Wrist Wraps – Not to be confused with straps, the main purpose of wraps are support and stability, though some wear wrist wraps to help with grip as well. Some wraps (mainly used for powerlifting) are so heavy duty that they feel like a cast, and are only worn only for the lift itself.
Straps – Straps are wrapped around the bar and are used to help you hold on. These allow you to hold on to weight longer, or train without exhausting your grip. Great tool for intermediate and advanced lifters, but nothing to worry about in the beginning.
Weightlifting Belt – These come in both velcro and leather varieties, and can be very useful for the intermediate and advanced lifter. I did not wear one for the first year of lifting, and even after I started wearing one, it was another few months until I was comfortable that I was using it right.
If you’re just starting out, don’t worry about having all the right accessories. Get a good pair of shoes and get started!
Get started
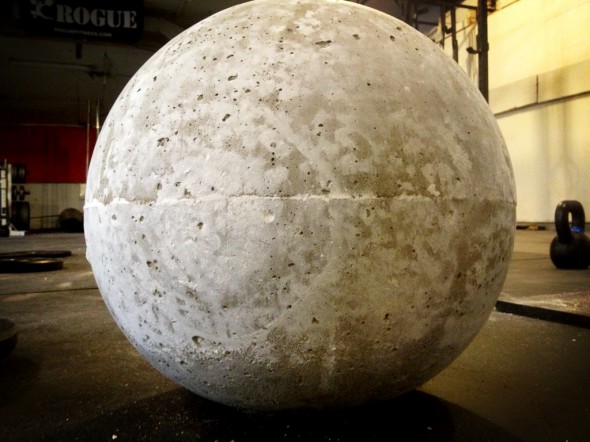
Remember, in order to begin strength training you don’t need fancy equipment, you just need equipment in good enough condition to be safe and to serve your purpose. In order to start barbell training, you really only need some sort of squat rack or power rack, a barbell, and weights. In order to start dumbbell training, you just need a few dumbbells.
Have none none of these things? No problem. Start strength training with body weight! Up for an adventure? Go outside and find something heavy to pick up; strength training can be done with anything, anywhere.
The most important thing is to get started, right now.
What’s the biggest mistake you made when you started lifting? Or what is the biggest mistake you’re afraid of making?
What other questions do you have about equipment?
-Staci
PS – Be sure to check out the rest of Strength Training 101 series:
- Strength Training 101
- Strength Training 101: Finding the Right Gym
- Strength Training 101: Where do I start?
- Strength Training 101: How much weight should I be lifting?
- Strength Training 101: Building Muscle and Strength
- Strength Training 101: Inverted Rows
- Strength Training 101: How to Squat Properly
- Strength Training 101: The Overhead Press
- Strength Training 101: The Deadlift
###
photo source: dumbbells, rec gym, basement gym, rack, weight


